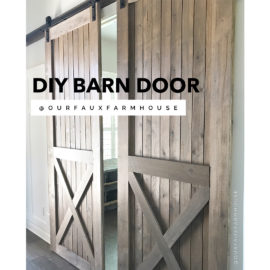
DIY Barn Door Baby Gate

Tutorial time! We’ve received so many sweet compliments on our farmhouse-style baby gate! This DIY baby gate with a door is a quick, one-day project, and all the supplies can be found at your local hardware store. It’s the perfect holiday DIY (especially if you’re going to be having a ton of kiddos over for the holidays). And of course, this gate works for all kinds of babies: humans and pets!
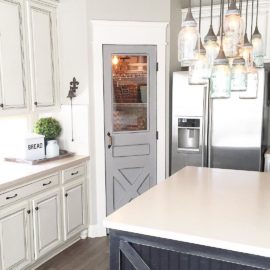
Why We Wanted a Baby Gate With a Door
I’ve raised several babies and used traditional baby gates for years. But honestly, they’re an eyesore! Plus, to get past them, you either have to take them down or do that awkward climb over them. There are several baby gates with doors on the market, but this DIY is so much cheaper and looks great in our home. What’s not to love?
How to Build a Farmhouse Baby Gate With a Door
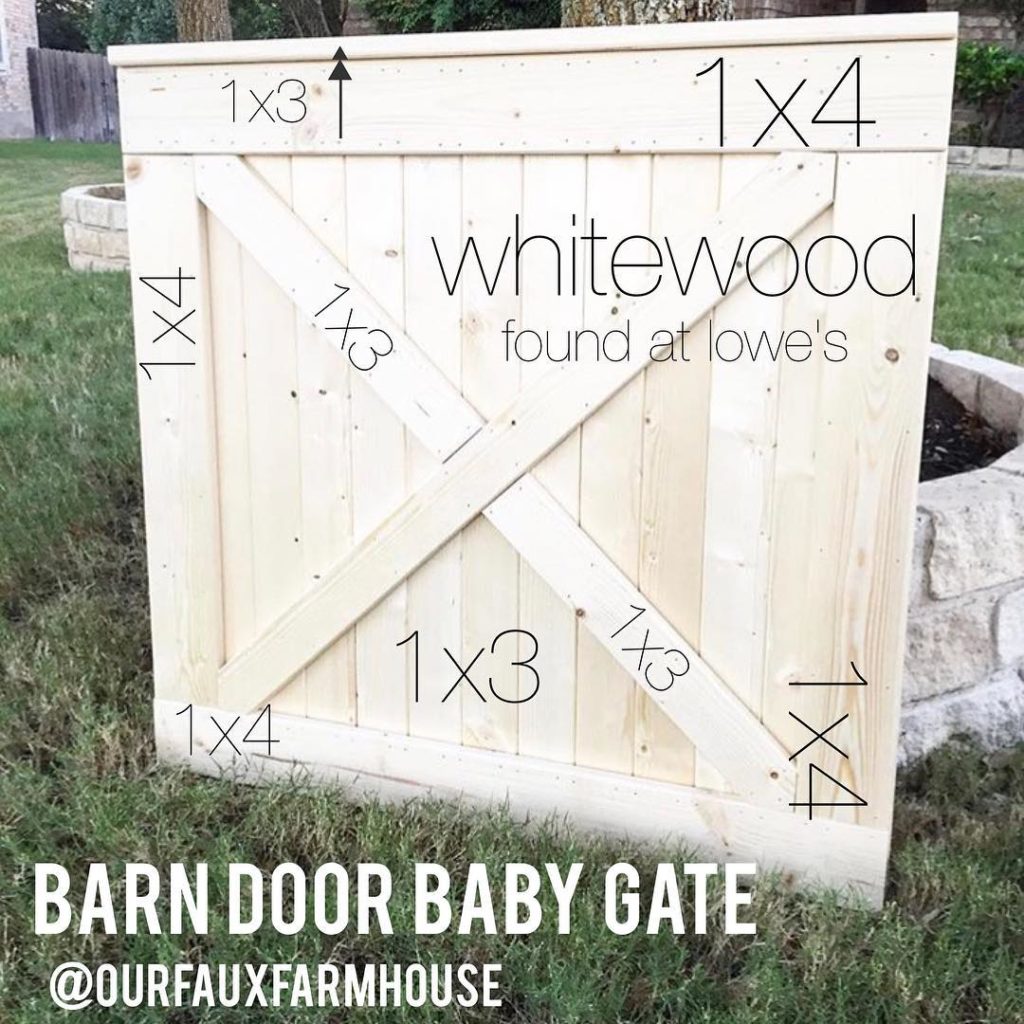
Here’s how we built our farmhouse-style baby gate. I haven’t included the measurements because everyone’s doorways are different, but this design is easy to adjust to whatever size you need! We used whitewood from Lowe’s because it’s easy to paint, but use whatever works for you.
Step 1: Lay out the base of the door.
First, lay out the “backbone” of the baby gate (all the straight up-and-down pieces). This will serve as the foundation for the rest of the pieces.
Step 2: Add your framing pieces.
Next, lay the framing pieces (the square frame around the edge and the cross through the middle) on top of your base. Nail these pieces onto the foundational pieces. We used a nail gun, but a good old-fashioned hammer will also do the trick. The x-shaped frame will keep everything together and keep it sturdy.
Step 3: Add the decorative touches.
We added a smaller piece of wood on top of the gate for a decorative touch. It’s a small detail, but it makes the baby gate look more like a door and less like… well… a baby gate! We also painted it white to match the other doors in our house.
Step 4: Install your baby gate.
We added black gate hardware from our local hardware store. (You can find similar kits at Home Depot.) Finally, we attached the gate to a couple 2×4’s that my husband anchored to the wall. And there you have it: a functional, fashionable baby gate with a door!
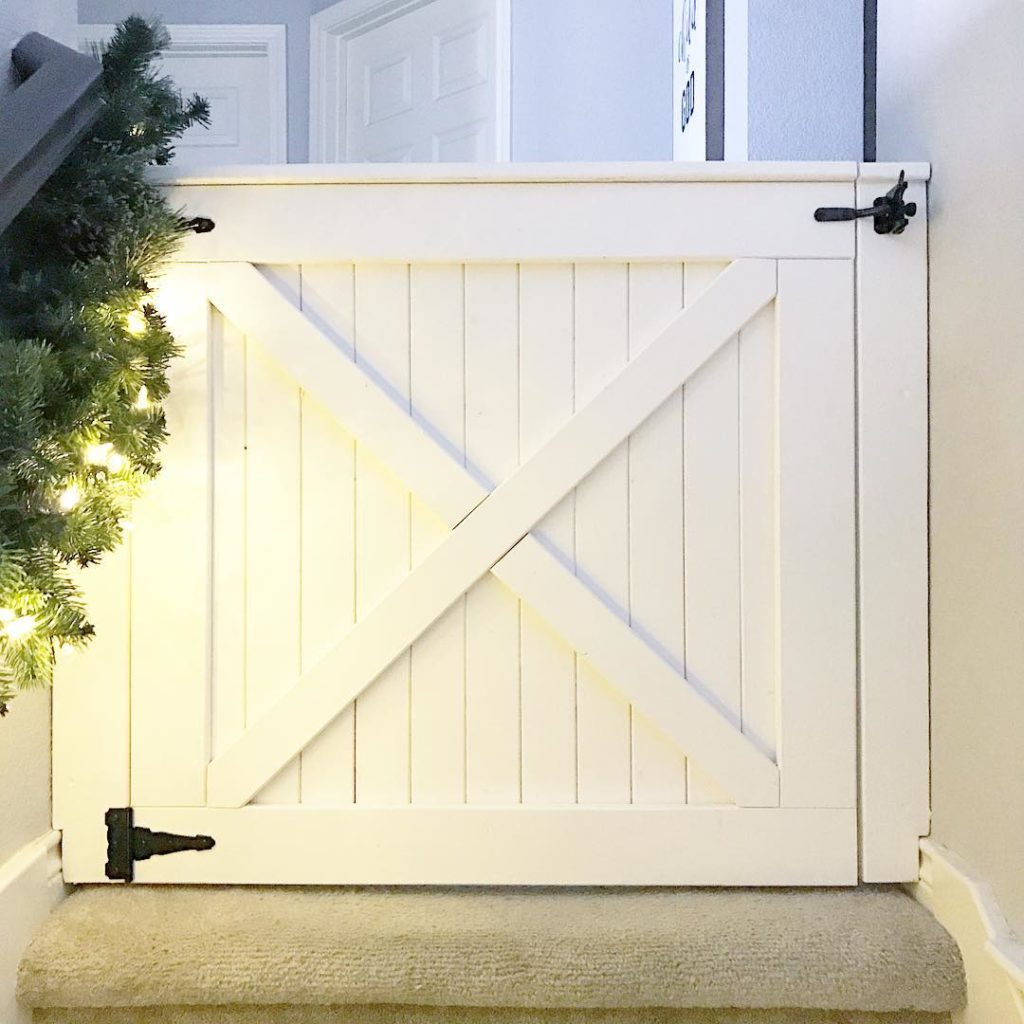
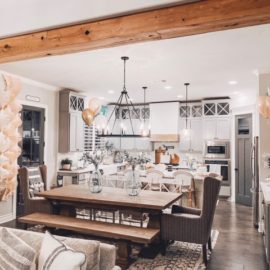
The Results From Our DIY Baby Gate With a Door
So far, we are loving this baby gate! We installed it at the top of our stairs to help contain the little people to the toy room. Someday, I would love another one at the bottom of our stairs, but they flare at the bottom and have wrought iron spindles. So for now, we’ll just continue removing Mr. Scout from the 3rd or 4th step every 5 minutes. Mom life, am I right?
Like I mentioned, this project is quick, easy, and adjustable for just about any size doorway. If you have any questions, just ask! Happy DIYing!
Looking for even more farmhouse DIYs?
You’ve come to the right place! Check out these DIY projects next…