Barn Door DIY Tutorial


Our Faux Farmhouse DIY Barn Door Tutorial.
? Materials
- 1×4 and 1×6 Cedar from your local hardware store (we prefer Home Depot)
- 1.25″ 18 gauge finishing nails
- table saw/miter saw
? Assembly
Again, let me remind you that we are not tutorial people. We are look-at-a-picture-and-dink-around-til-we-get-it people. So this is a tutorial (ish).


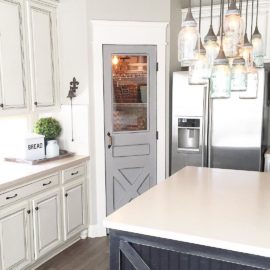
The total door dimensions are 8’5″ x 3’2″, we have 8 ft doorways in this house, so if you need smaller doors you’ll need to plan cuts accordingly. First, we ripped the 1×6’s down to 1×5’s (Lowe’s does not sell 1×5’s) and cut all of our pieces to length (measurements on picture). Then pieced it all together. We chose the x style barn door but there are MANY styles out there–some have less cuts than others. Once all of the pieces were cut we laid them together and started tacking the top layer to the bottom with a finishing nail gun. We started by tacking the anchor pieces first–the top/bottom/side pieces. Then middle, and decorative x pieces. .
For Stain we used ‘Weathered One-Step Stain” from Old Barn Milk Paint and stained the cut pieces of wood BEFORE tacking them together. We LOVE this stain because it dries SO quickly and has zero odors! It ‘ages’ the wood in the minutes and has the perfect gray/brown coloring.


As previously stated we purchased a Barn Door Hardware Kit from our local hardware store for $150. After I posted that many others stated that they found it even cheaper on Amazon and Walmart websites. So check those out too!
Looking for another barn door project? Check out this barn door baby gate DIY!


