How To Paint A Fridge (or Freezer!)
I know we have all heard, “if it isn’t broke, don’t fix it.” In our house we live by a little bit different phrase, “if it isn’t broke, don’t replace it, paint it.”
We have painted a variety of things in our house: furniture, campers, lights, and even appliances. We got this freezer 15 years ago. This freezer has seen us through three children, two states, and many Costco trips. Can you believe it?!
We have added more robust freezers, but this little guy works like the day we brought it home. It deserved a facelift after so many years of faithful service.

Supplies for Painting Your Fridge:
- Sandpaper (60, 120, 220 grits)
- Tack Cloth
- Painter’s Tape
- Paint Tray
- Paintbrush
- Several Paint Rollers for Smooth Surfaces
- Smooth Surface Primer
- High-Quality Paint
How To Paint Your Fridge or Freezer
Step One: Prepare the Surface
The most important step with painting unusual surfaces is preparing the surfaces correctly and using high-quality paint and primer. To prepare the surface, you need to make it rough to give the primer something to grip to.
Using the 60 grit sandpaper, sand the entire surface. Use the tack cloth to wipe the surface clean.
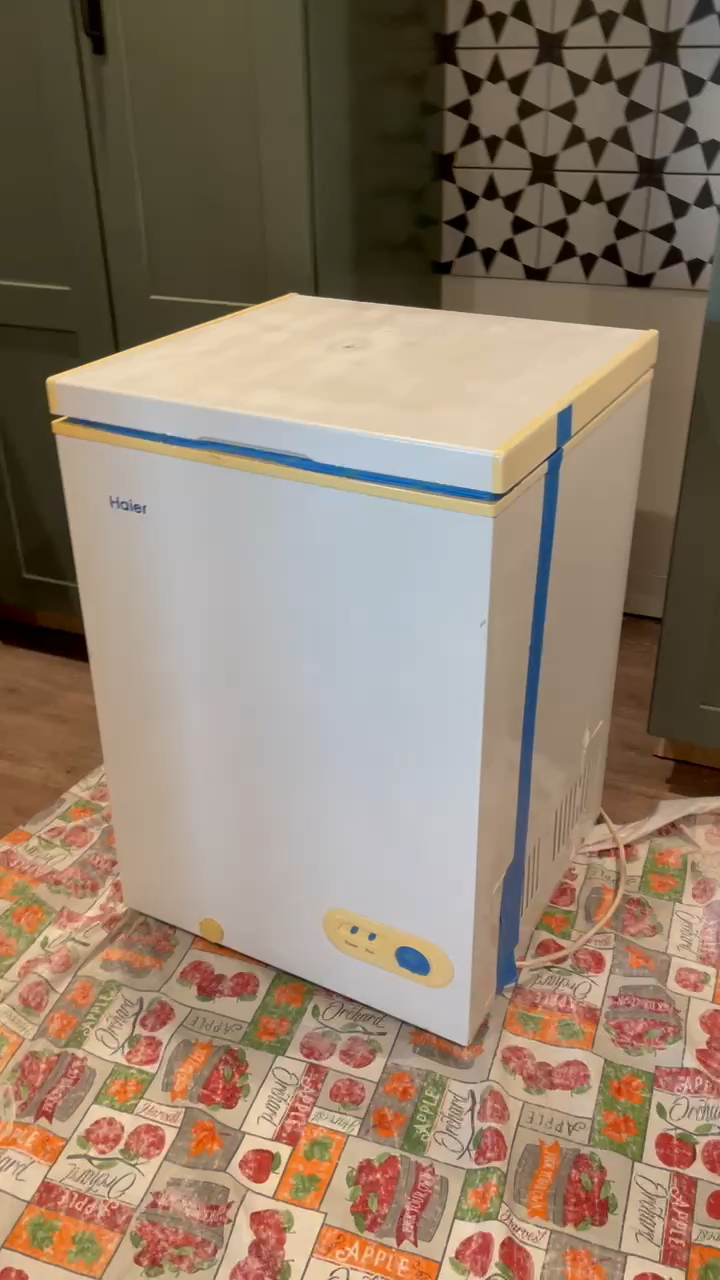
Tape off anything that doesn’t need to be painted. In our freezer, I taped off the seal, lights, vents, and knob. I also decided not to paint the entire side of our freezer since it’s going to be part of our mudroom cabinet build.
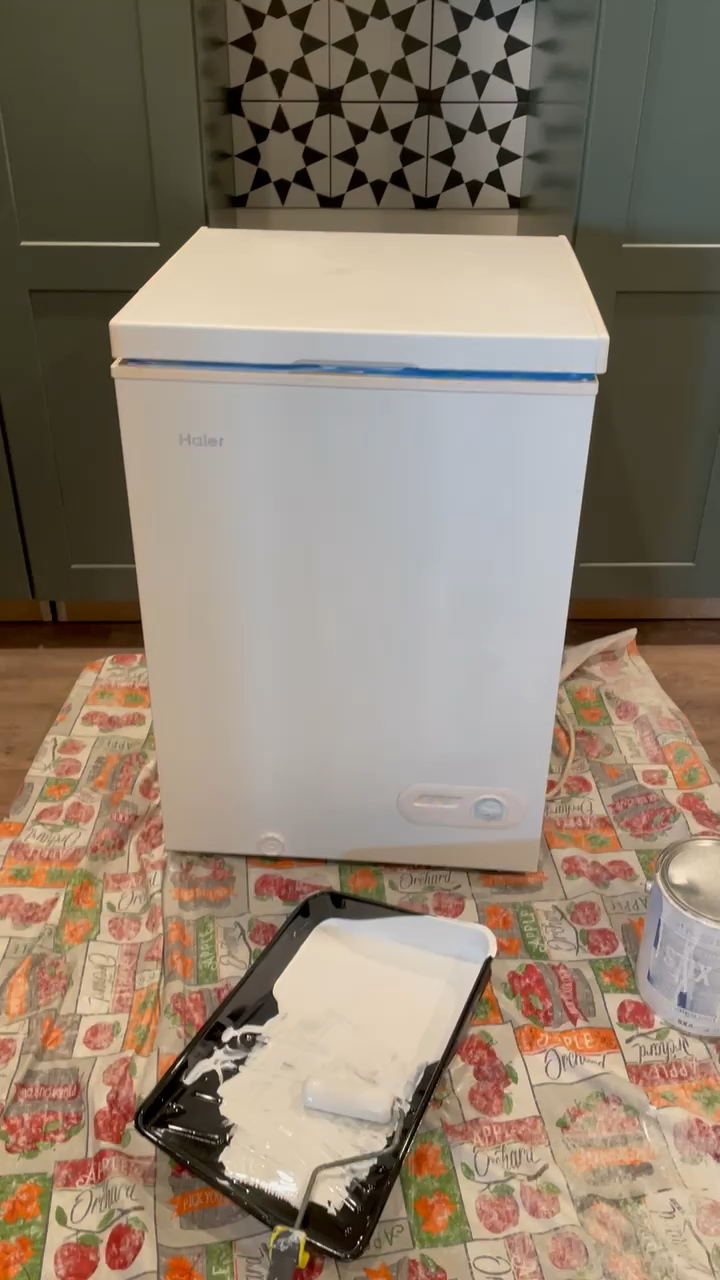
Step Two: Prime
After the surface is taped off, it’s time to prime. Although you have sanded the surface, you will want to use a high-quality primer made for smooth surfaces. There are many options available. After some research, I went with the Inst-X Stix primer. Use a paintbrush in any hard-to-reach areas or grooves first.
Follow up with a smooth surface foam roller. It took entirely too much trial and error to realize that you should always brush first and follow up with the foam roller if you want a smooth brush stroke-free finish. Once the primer dries according to the directions on the can, sand the surface with 120 grit sandpaper. Clean the surface with the tack cloth.
Step Three: Paint
A high-quality paint will last longer and hold up to more wear and tear. In an ideal world, I would be able to bring my freezer outside and give it a proper paint job with something like automotive enamel. However, I live in the tundra of rural South Dakota, so that isn’t an option in February. Instead, I found a water-based enamel hybrid from Sherwin Williams.
I had the Emerald Urethane Trim Enamel color matched to our new mudroom cabinets. Following the same process of brush and then foam rolling, I painted the entire freezer. After the coat was dry, I followed up with the 220 grit sandpaper. Gradually upping the sandpaper grit will give your paint coats a smooth professional-looking finish. I applied three separate coats to my freezer. Depending on the color, you may be able to finish with two coats. On the final coat, I do not use sandpaper.

Step Four: Touch Up
Once painting is complete, remove any tape you may have used. You might find that you have some clean up to do. Take a small detail paintbrush and make any adjustments you need. I decided on my particular freezer to do the knob in black. I used some extra black vinyl I had sitting around and stretched it over the knob and cut it with an Exacto knife.
I chose not to do a clear coat on top of my freezer, because the paint itself has urethane. My old freezer blends in with my mudroom and is ready for another 15 years of service.

If you have any questions or want to show me your newly painted fridge or freezer, you can find me at TheDabblingCrafter.com or on Instagram @thedabblingcrafter! I hope this was helpful in creating a space you love!
For more amazing tutorials from Our Faux Farmhouse contributors like this accent wall from Savannah Kay Designs, check out the Our Faux Farmhouse blog here.