The Ultimate pole-wrap Panel Moulding hack!
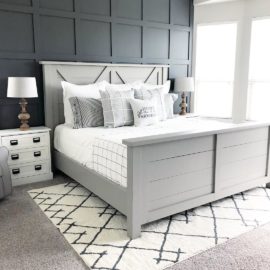
When we built our new home, it was important to incorporate old character. Although, adding custom panel moulding was not in the budget! We left the walls and ceiling bare to DIY them later on. Finally, after two years of living here, we have started the entryway millwork! You know that saying “design takes time”? Many craftsman homes have tall board and batten wainscoting, mostly made out of the same stained wood as the trim. Drool!! I would love for this design to come back into style.
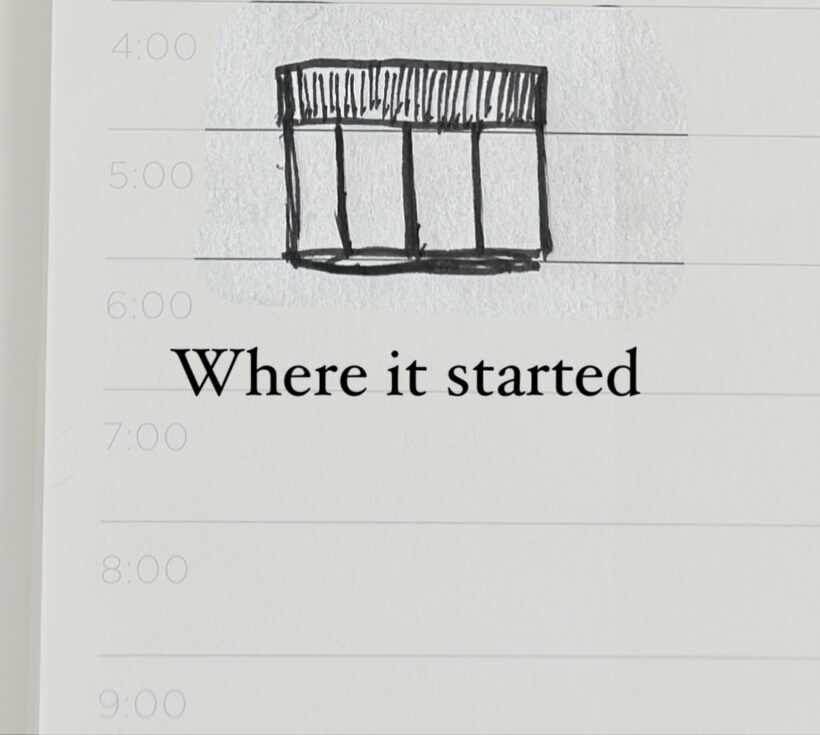
We wanted to create a new design of the old-fashioned board and batten. One day an image popped into my head using the fluted wood that you see a lot now. I drew it out quickly and presented my itty bitty drawing to my husband, and bam, here we are. I think this just goes to show if you have a vision or a dream, take those first steps. It could lead somewhere beautiful.

After doing the math, we realized using the fluted wood vs. pole-wrap would cost around the same but take a LOT longer. Pole-wrap is very easy to work with also. We got ours from Home Depot.
Here is a rundown of the space we designed:
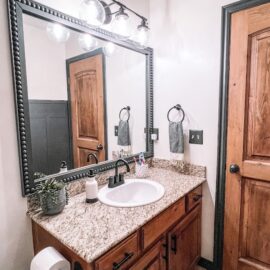
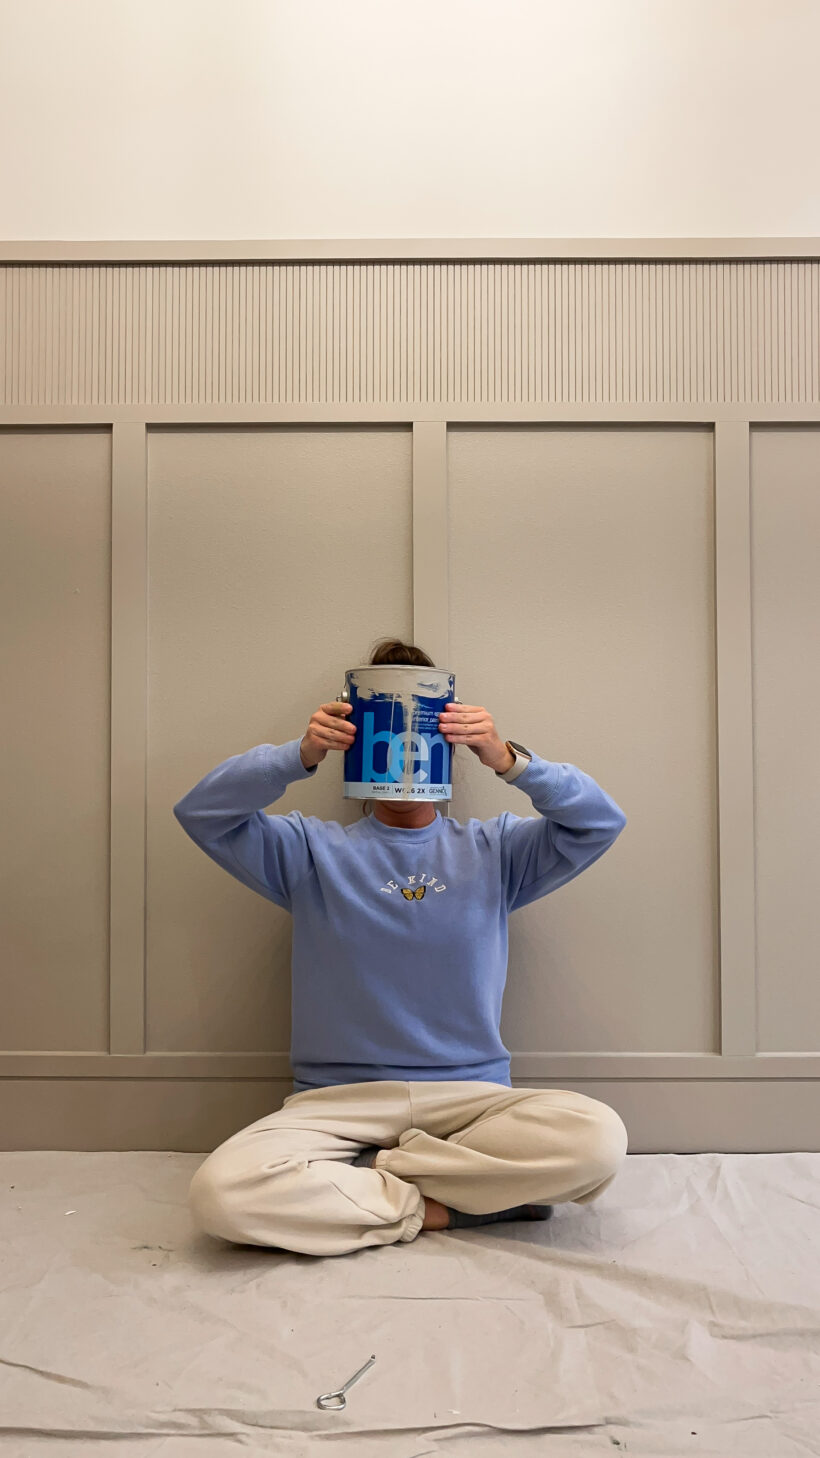
Our entryway is 11 1/2″ X 8″ with double front doors. Our ceilings are 9 feet high. Our base trim is 7 1/4″. Here is a before photo.


Pole-Wrap Panel Moulding Materials Checklist
- MDF Board – We cut down to the sizes below.
- Saw
- Sander – The MDF cut boards were rough.
- 16 Guage Finish Nail Gun
- 18 Gauge Brad Nailer
- Pole-Wrap – I purchased 2 of 48″ X 48″ MDF
- Paintable Caulk
- Volt Sensor – If you have electrical in the area you are working on.
- Level
- Paintable Spackle
- Construction Adhesive
- Painting Supplies & Paint of Choice
- Safety Googles – or not – *I am looking at you Brad! 😂


Let’s get started!
How To Create Custom Panel Moulding With Pole-Wrap

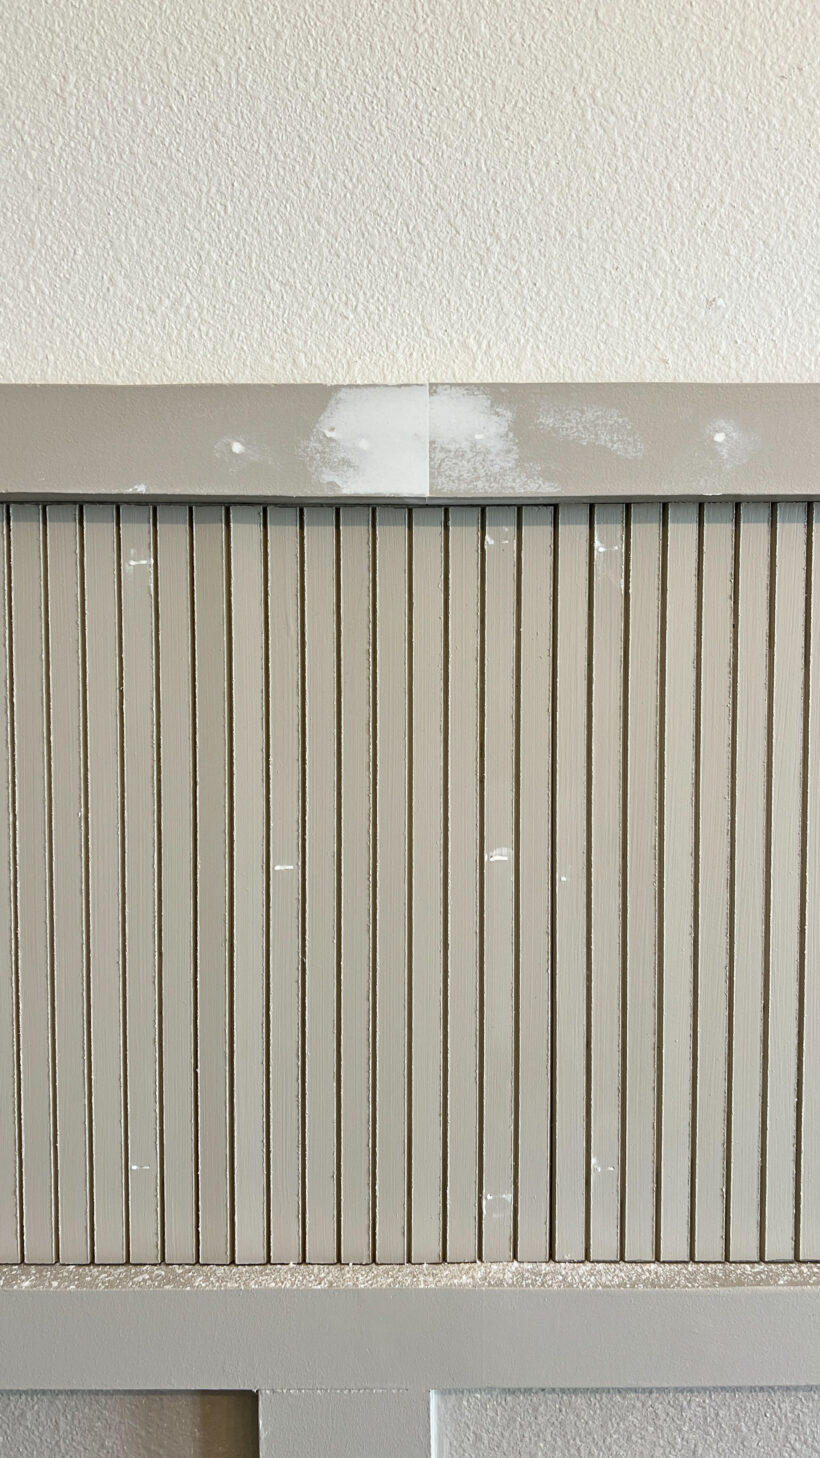
A close-up of the pole wrap. See how easy it bends?
STEP ONE: Cut the MDF board to the sizes of your “inside” boards and your “top” boards.

STEP TWO: Now is the “fun” part. Sanding the cut MDF.
STEP THREE: Give all boards and pole-wrap two coats of paint before putting them up on the wall. I also applied one coat of paint to the wall before. The MDF really soaked up the paint. I used small rollers for this part.

STEP FOUR: We created this spacer out of scrap beadboard to make applying the boards much faster. Here we used our nail gun to attach the boards to the wall. Watch out for your electrical wires in this step! We used a volt sensor and marked X’s on the wall to remember where it was. Youu can apply allin-betweenn boardsin this step and top them with one of your “skinny” boards. The pole-wrap will sit on top of this.

We used this technique to force the slightly warped board straight against the wall. Don’t forget you can flip your clamp around to push things apart, not just squeeze them together!

STEP FIVE: Now, you are ready to apply the pre-painted pole-wrap. I would not suggest painting it on the wall; you might get drips and runs of paint on the board below it. We would have sprayed this area, but the prep work was daunting. LOL
We applied a small amount of construction adhesive to the pole-wrap and brad nails. When we tried to use only nails, you could see “bubbles” in the wrap. The adhesive helps tack it flat to the wall. The only con of using adhesive is if you want to remove it, there will be damage to your drywall.

STEP SIX: Apply your top skinny board, and you are finished with the main design work! Now for the finishing touches that make it look custom and professional!
STEP SEVEN: You will want to fill the little nail holes and seams with paintable spackle. There is one that goes on pink and dries white, so you know when it’s ready to work with. Tip: remove as much excess of the spackle as you can while you are applying it. You will create more work for yourself if you do not. Once the spackle is dry you can sand it down gently. The container will have instructions! This is the step you will apply the caulk to the seams.


A tip for caulk is to wet your finger and slide it down with consistent pressure!
STEP EIGHT: Paint! We choose to paint the board and batten the same as all of our trim work to look like an extension of it! We used Pashmina by Benjamin Moore. After painting, the white light switch cover stood out so I grabbed a gold one from Amazon. It adds even more character to the space!

Doesn’t it look like it always belonged here? I can’t imagine it the way it was before now. I hope you love this fluted pole-wrap panel moulding as much as I do!


Over on the blog, I like to focus on creating that modern, cozy & livable home design. I chat with you about all things home, beginners DIY, casual fashion, and life in the Midwest. Click here to sign up for this months free guide & the weekly newsletter! Hope to see you there!
Thank you for reading; I truly hope you find joy in your DIY home! If you try this in your home, please tag us! I would love to see it. @terranelsonhome
For more amazing tutorials from Our Faux Farmhouse contributors like this accent wall from Savannah Kay Designs, check out the Our Faux Farmhouse blog here.