Wallpaper + Textured Walls
When I set my sights on wallpapering our bathroom, my first thought was, “Can you even use wallpaper on textured walls?” Well, the answer is yes!
While we were nervous about applying the wallpaper, we’re thrilled with the results. (In fact, we were so nervous about how it would look on the textured walls that we accidentally applied it upside down. But that’s a story for another day!) Here’s how we applied our favorite pre-pasted wallpaper to the textured walls in our bathroom!
CAN YOU WALLPAPER TEXTURED WALLS?
You definitely can wallpaper textured walls, but your success will depend on a few things. As you’re planning your project, consider…
- The style of textured wall. Some textures, like orange peel and knockdown, can work pretty well with wallpaper (if you don’t mind a bit of texture showing through). Others, like popcorn and slap brush, can create a lot of wrinkling and even tearing. If your walls are highly textured, you might be better off smoothing them before applying wallpaper.
- The type of wallpaper. Not every type of wallpaper will adhere well to textured walls. The pre-pasted paper we used worked great, but check with the manufacturer before you commit.
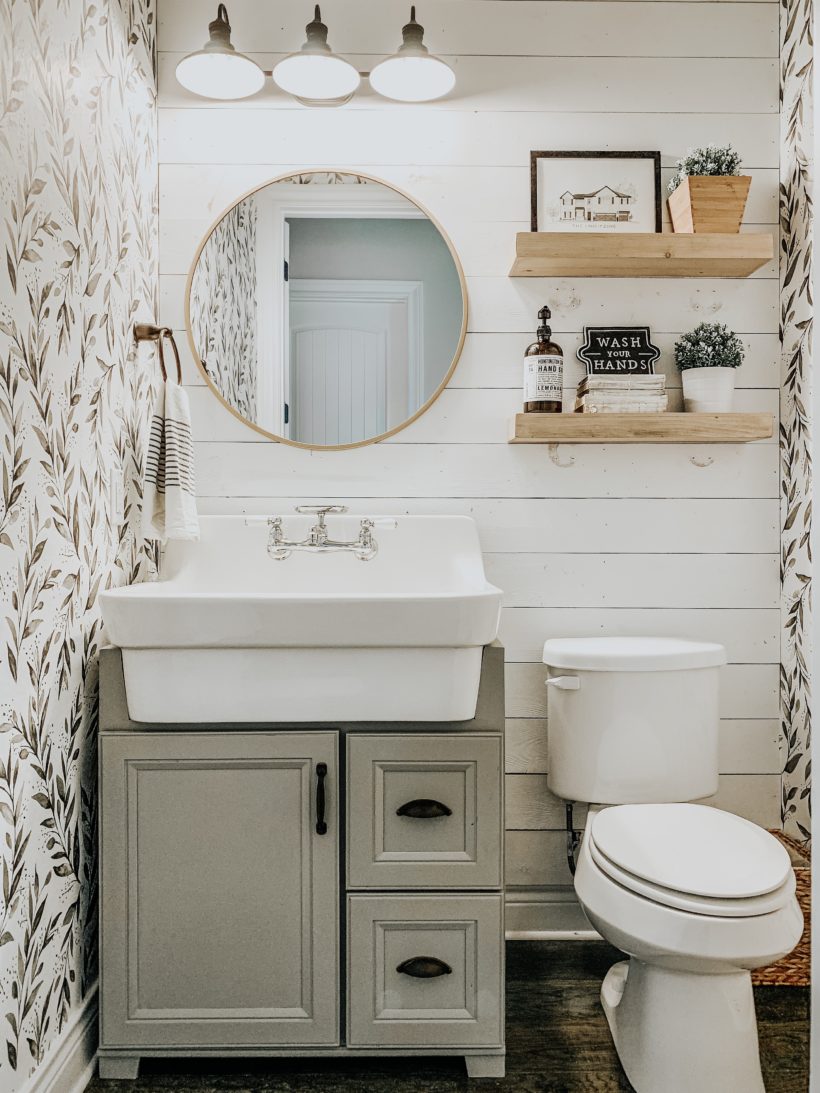
- The pattern of the wallpaper. Busier and lighter patterns will hide bumps and texture better than more solid, darker patterns. We chose wallpaper with a cream background and tons of detail. In the end, you could barely see any texture!
When in doubt, order a sample! Try it on a small part of the wall, and leave it up for a few days while you make your decision.
SUPPLIES

- Paint Sprayer
- Wallpaper
- Measuring Tape
- Scissors
- Razor Blade
Wallpaper is one of our favorite ways to jazz up a space because it really only requires a few materials, minimal prep-work, and creates a HUGE IMPACT!
STEP BY STEP | HOW WE WALLPAPERED OUR TEXTURED WALLS
Step 1: Activate the adhesive.
The best time-saver is using a paint sprayer filled with water to create a “fine mist” to activate the paste on the back of the paper. A squirt bottle would have taken longer and a roller may not have evenly applied the water.
Step 2: “Book” the paper.
After spraying the back of the pre-pasted paper we “booked” the paper. You can do this by taking each end of the paper and folding it to the center of the strip. Then, we let that sit for 3 minutes (per the instructions that came with the wallpaper) while the paste was activating.
Step 3: Apply the wallpaper.
Next, when the time was up we grabbed the top edge of the paper and carefully placed it on the wall, leaving the bottom half of the paper “booked” until the top portion was secured, then released the bottom half and secured that to the wall as well.
For those of us with TEXTURED WALLS, do not fret! This paper totally works! We have textured walls as well. You’ll just want to make sure that you get all of the air out from behind the paper. This can be done by firmly pressing all of the paper in place by hand OR by using a flat edge.


OUR RESULTS
One of our most frequently asked questions is, will this type of paper ruin your walls afterwards? Adhesive has come a LONG way, so now you can remove it by simply wetting the paper again, and it slips easily off the wall…in ONE WHOLE SHEET! No more tiny little shreds!
It totally transforms this little space into a little designer hall bathroom (vs. builder-grade boring bathroom). Such a simple weekend project that we feel ANY level of DIYer can handle. Happy Wallpaper-ing!
ALSO- We also used wallpaper in our daughter’s boho bedroom- it made a HUGE difference! See the reveal HERE.