Cornhole Boards DIY
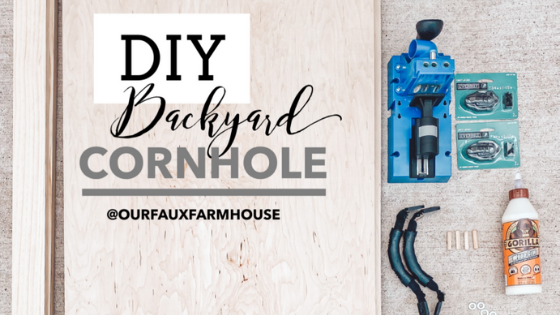
Last week on Instagram we made our own backyard Cornhole boards. As promised, here’s the DIY tutorial so you can make some too!

Materials Need for 2 Cornhole Boards:
+ 2 pieces of 3/4″ Maple plywood cut to 24″x48″ (regulation size Cornhole boards)
+ (3) 1″x3″x8′ select pine (for framing)
+ customizable vinyl stencils from my friends Erin or Chelon
+ 2 kayak handles (for storage/transport)
+ 4 chest latches (for storage/transport)
+ 1/4″x2″ long carriage bolts with corresponding washers and lock nuts
+ If using KregJig system to create pocket holes, you’ll want to purchase a box of 1 1/4″ Maxi-Loc screws by Kreg.
How to Make DIY Cornhole Boards:
Step 1: Build the frame.
Let’s start with the framing pieces for the Cornhole boards. If you are mitering the frame pieces (for a more finished look) you will cut two of the 1×3’s at 48″ mitered and two of the 1×3’s at 24″. If you are just doing straight cuts you will have two cuts at 48″ and two cuts at 22.5″. We went the mitered route to give it a polished edge.

Step 2: Attach frames to board.
Next, you’ll attach the framing to the edges of the maple board.

If you’re using a KregJig to create pocket holes, you will create holes equidistant on each framing piece–3 holes on the shorter sides and 4 holes on the longer sides. If you’re not creating pocket holes you will have to run screws on top of the board to connect the framing pieces, which will not be as clean as a look.

Step 3: Glue framing pieces to board.
Before attaching the framing pieces, run a bead of wood glue on the bottom side of the each framing piece before screwing in the pocket hole.

Then, using the Maxi-Loc screws, attach the framework to the underside of the board.

Step 4: Build the legs.
For the legs, you’ll use scraps from the framing pieces and cut two pieces 12 3/4″ long, with a 15 degree cut on one end. You’ll also need one piece cut to 21″ for the center leg brace. As seen in the picture below, you’ll want to round the straight edge of the legs so that when you fold the legs down (for storage) they will fold all the way in. Use the carriage bolt, washer, and locking nut to attach the legs to the framing pieces. And create pocket holes to attach the center leg brace.

Step 5: Cut holes for the beanbags.
Now you’ll trace a 6″ circle 6″ down from the top of the board. This will put the center of the circle 9″ from the top of the board. If you don’t have a 6″ circle watch our saved Cornhole DIY highlight on Instagram for a little hack.

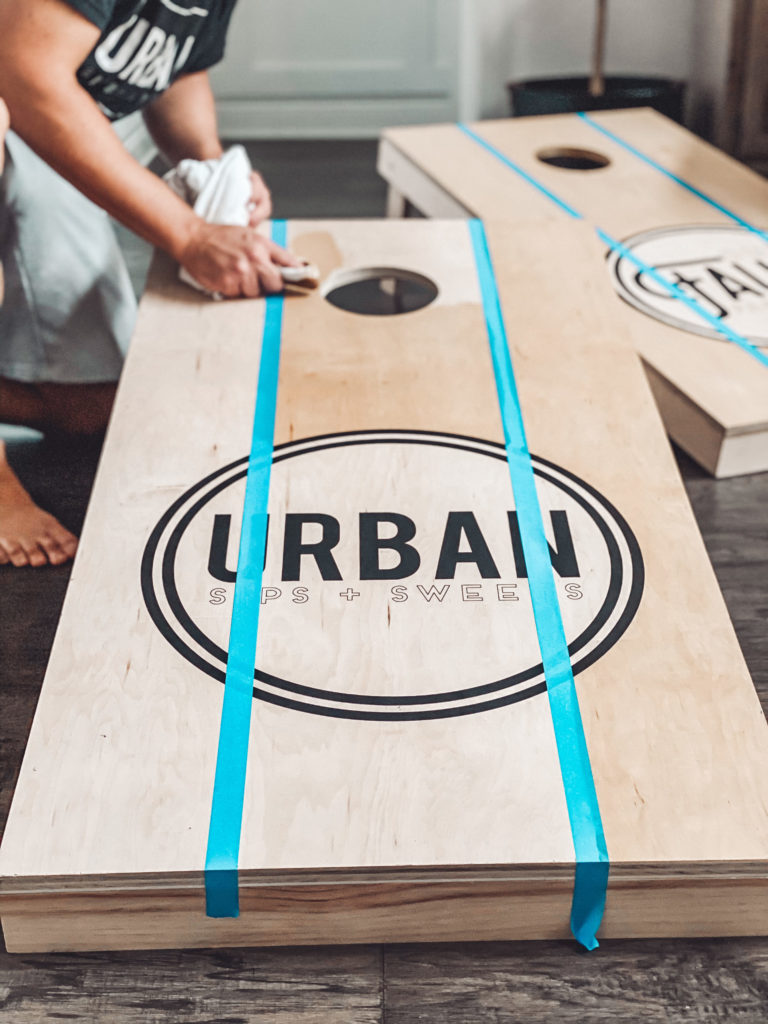
Step 6: Decorate your Cornhole boards.
Now here comes the fun part! Customize it! We wanted something simple, timeless, and classy, so we went with our fave logos. So we had our friend Erin create one-time-use stencils for our boards.

After placing the stencil, we painted the stencil area and then started on the rest of the design. We created stripes using tape and stain. The stain color we used was called “Old Summer” by Varathane. Finally, we used old black paint that we had from a previous project.


Step 7: Have fun!
We found Cornhole bean bags on Amazon, and after a couple of coats of lacquer we were ready for our first game! We’ve played many games of Cornhole using these boards since, and we’re in love! We’ll definitely be making these as housewarming gifts for friends and family. Such a fun, easy, and relatively inexpensive project that the whole family can enjoy! Happy building!

Looking for more outdoor DIY fun? Make sure you check out our DIY Moss Planters and DIY Backyard Playhouse!